The Model Context Protocol Server, or MCP Server, is a simple program that connects AI Models to external data resources by exposing specific content to AI applications, following the standard protocols of MCP.
Why Do We Need an MCP Server?
- Standardized Connection: Instead of writing custom integration code for every AI app you want to connect a tool to, MCP gives one common protocol where the server needs to be built once, and it is compatible with every other MCP-compatible client.
- Extends AI Capabilities Beyond Training Data: AI models can't act on live, real-world data by default. An MCP server enables the model to call real functions such as fetching a database, checking a task list, and hitting an API, and giving it up-to-date, actionable context instead of relying only on what it was trained on.
- Separation of Logic and Model: Business logic (task management, file access, database queries) lives in the server, completely separate from the AI model itself. This keeps your code reusable, testable, and independent of which AI client is calling it.
- Controlled, Secure Access: The data and tools that AI can access are strictly controlled. This is safer than giving a model broad system access, since each capability is explicitly defined and scoped by the user.
- Reusability Across Projects and Teams Once built, the same MCP server can be shared, reused, or extended by anyone ranging from a teammate, another project, or the open-source community — since it's an open standard.
Prerequisites
- Python 3.10+: Python 3.10+ needs to be installed (3.12+ is recommended) because the official MCP SDK and FastMCP framework are built on modern Python type-hint features that older versions don't support.
- Basic familiarity with Python functions and type hints: Basic idea of Python functions and type hints is required, as FastMCP turns users' function signatures and docstrings directly into the schema the AI model reads, so understanding them is central to writing a working server.
- MCP client installed: MCP clients such as Claude Desktop pr Open AI Agents are needed as a server does nothing on its own; you need a client to actually connect to it, call its tools, and verify it works.
- uv is a fast Python package/project manager: uv manages the user's virtual environment and dependencies in one step, avoiding the manual venv + pip setup, and keeps the project reproducible for anyone who clones it.
Installing uv
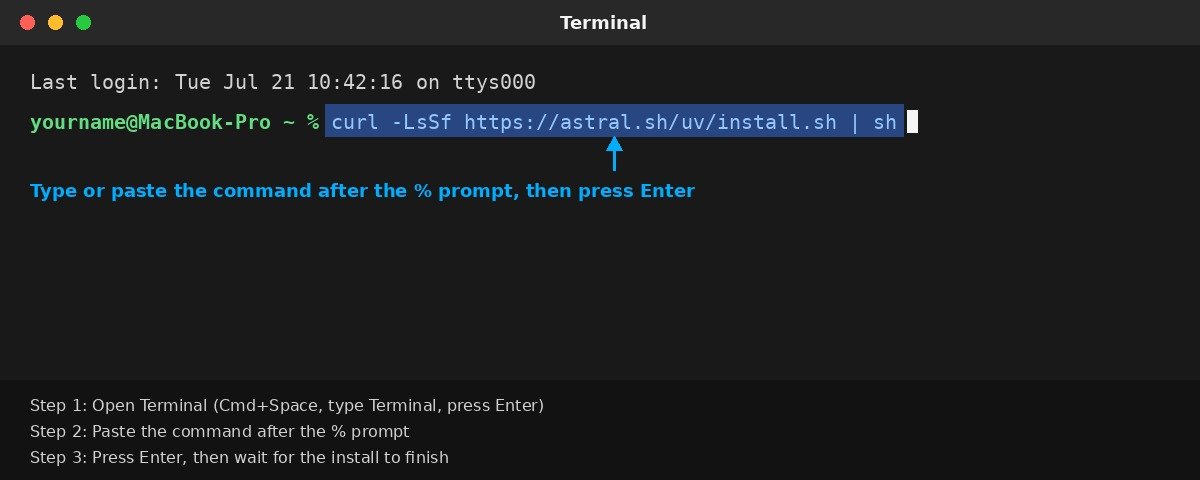
Below are the steps to install uv, a fast Python package/project manager in macOS/ Linux and Windows:For macOS/Linux:
curl -LsSf https://astral.sh/uv/install.sh | sh
For Windows:
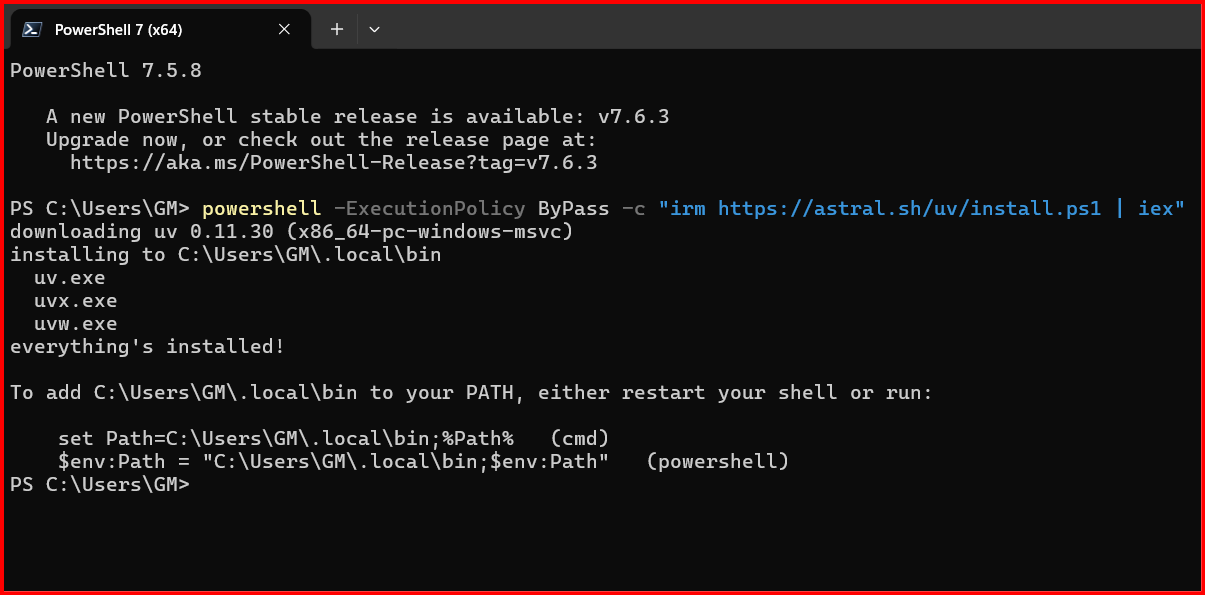
powershell -ExecutionPolicy ByPass -c "irm https://astral.sh/uv/install.ps1 | iex"
or
pip install uv
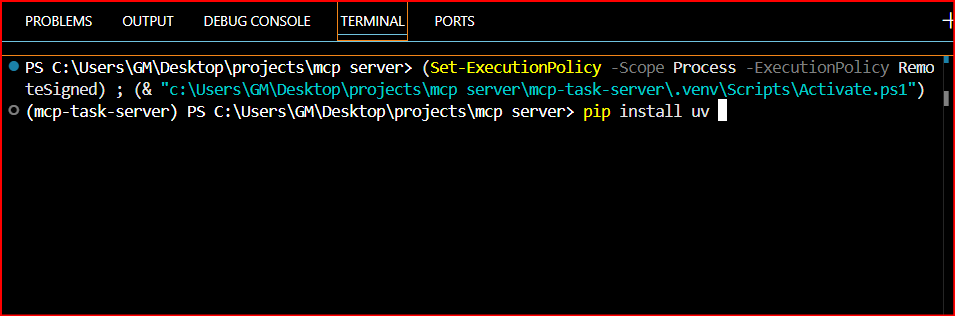
After installing, fully close and reopen your terminal, and not just clear the screen, so that the new change is updated.
Verification:
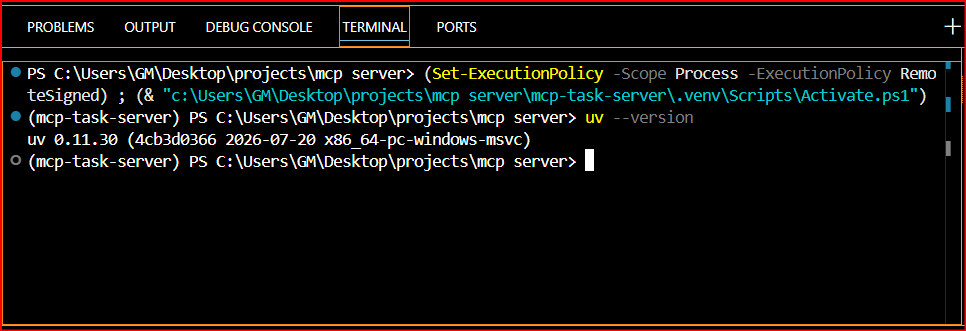
1. Verify if uv is installed by typing uv --version on the terminal.
2. If installed, the user will be able to see a version number. The output should look like this:
3. If the user gets an output saying "uv is not recognised", then follow the given steps:
- If installed via the .ps1 script, i.e., the first method, check:
Test-Path "$env:USERPROFILE\.local\bin\uv.exe"
- If installed via "pip install uv" method, find the pip install location;
This returns the whole user folder, where the location of uv installed can be determined.Get-ChildItem -Path "$env:USERPROFILE" -Filter "uv.exe" -Recurse -ErrorAction SilentlyContinue
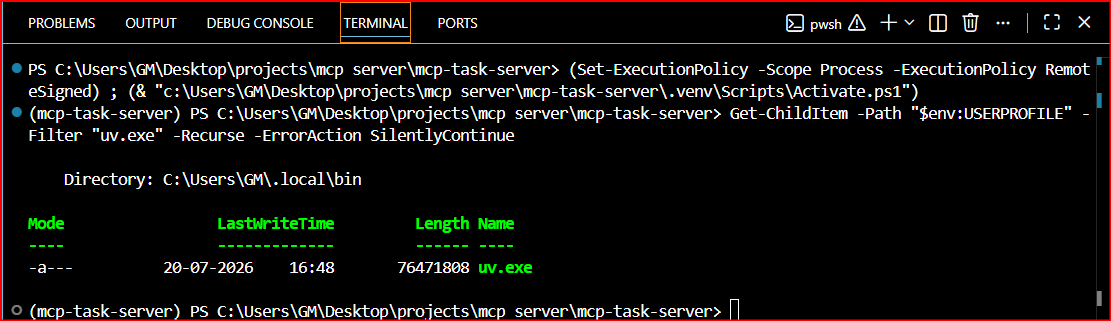
- Add the folder that contains "uv.exe" to your "PATH":
$env:Path += ";C:\path\to\folder\containing\uv.exe"
uv --version
- Once this works, make it permanent so that this step doesn't need to be repeated each time
[Environment]::SetEnvironmentVariable("Path", $env:Path + ";C:\path\to\folder\containing\uv.exe", "User")
Close the terminal completely, open a fresh one, and run uv --version. Again, to confirm it stuck.
Project Flow
The process of building the MCP Server can be summarized in the following manner:
We will be exploring each step in detail in the following section.
Step 1: Install uv and the official MCP Python SDK.
Step 2: Create a FastMCP instance.
Step 3: Define tools (@mcp.tool()), resources (@mcp.resource()), and prompts (@mcp.prompt()) as plain Python functions with clear docstrings and type hints.
Step 4: Run mcp dev server.py to test in the Inspector before connecting anything else.
Step 5: Debug via logs, never via print() on stdio servers.
Project Setup
1. Create a Project Folder: This creates a common folder containing all files and repositories so that it becomes easy to debug when an error occurs.To create a folder, type the following command on your terminal:
2. Add the MCP SDK as a dependency: This installs the official MCP Python SDK, which includes FastMCP, a framework that turns plain Python functions into MCP tools/resources/prompts, so you don't have to hand-write JSON schemas.uv init mcp-task-server
cd mcp-task-server
uv add "mcp[cli]"
With this, we come to the end of the first step, where we created the project folder and added the required dependencies.
Project Architecture
Before proceeding to the actual building of the server, it's important to understand the backbone of the architecture of the program so that the functions of each layer are clearly defined.
- AI client (top): Any MCP client, like ChatGPT, decides when to call a tool based on the conversation. It never talks to the Python code directly; it only knows about the tools/resources/prompts your server exposes.
- stdio transport: The client launches server.py as a subprocess and communicates over standard input/output using JSON-RPC 2.0 messages with requests like "call add_task with these arguments", and responses like the return value.
- MCP server (FastMCP): This is the main server.py. FastMCP handles the protocols such as parsing incoming JSON-RPC requests, matching them to the right function, validating arguments against the type hints, and serializing the return value back into a response.
- Tools / Resources / Prompts: These are just plain Python functions, grouped by role:
- Tools do something: mutate state, trigger an action.
- Resources return something: read-only context, like a GET request.
- Prompts create templates: reusable instructions that the client can surface to the user.
- In-memory data store: TASKS, the plain Python list. Every tool function reads or writes to this same list. It's the shared state.
The request lifecycle, end-to-end, works in the following chronological order when the user types "add a task called X" on the MCP Client, like Claude or ChatGPT:
- MCP Client Selects the Appropriate Tool: MCP Client decides that add_task is the right tool and extracts title="X" from your message.
- JSON-RPC Request Sent to the Server: MCP Client sends a JSON-RPC request over stdio to your running server.py
- FastMCP Validates and Invokes the Function: FastMCP receives it, validates that the title is a string, and calls your Python function.
- Python Function Processes the Task: add_task appends to TASKS and returns a string.
- FastMCP Sends the JSON-RPC Response: FastMCP wraps that string in a JSON-RPC response, sent back over stdio.
- MCP Client Presents the Result: MCP Client reads the result and reports back to you in natural language.
Building the Server
In this section, we will learn how to build a simple "Task Manager" server, which is an MCP Server designed for task management and also provides backend tools for client-driven projects.
Step 1: Creating a file "server.py"
Create a file inside the main project folder we created earlier. Name it 'server.py'.
Step 2: Import FastMCP and create the server instance
The string "Task Manager" is the display name that the AI client will show to the user.
from mcp.server.fastmcp import FastMCP

mcp = FastMCP("Task Manager")
Step 3: Add Storage
A database would be required for large-scale projects, but for this tutorial, an in-memory list is enough:
 TASKS: list[dict] = []
_next_id = 1
Step4: Define tools with the @mcp.tool():
Each tool is just a Python function. The docstring and type hints are not optional because FastMCP uses them to generate the schema that the AI model sees.
    @mcp.tool()
def add_task(title: str, priority: str = "medium") -> str:
    """
    Add a new task to the task list.

    Args:
        title: Short description of the task.
        priority: One of 'low', 'medium', 'high'. Defaults to 'medium'.
    """
    global _next_id
    task = {"id": _next_id, "title": title, "priority": priority, "done": False}
    TASKS.append(task)
    _next_id += 1
    return f"Added task #{task['id']}: '{title}' (priority: {priority})"
Complete Source Code
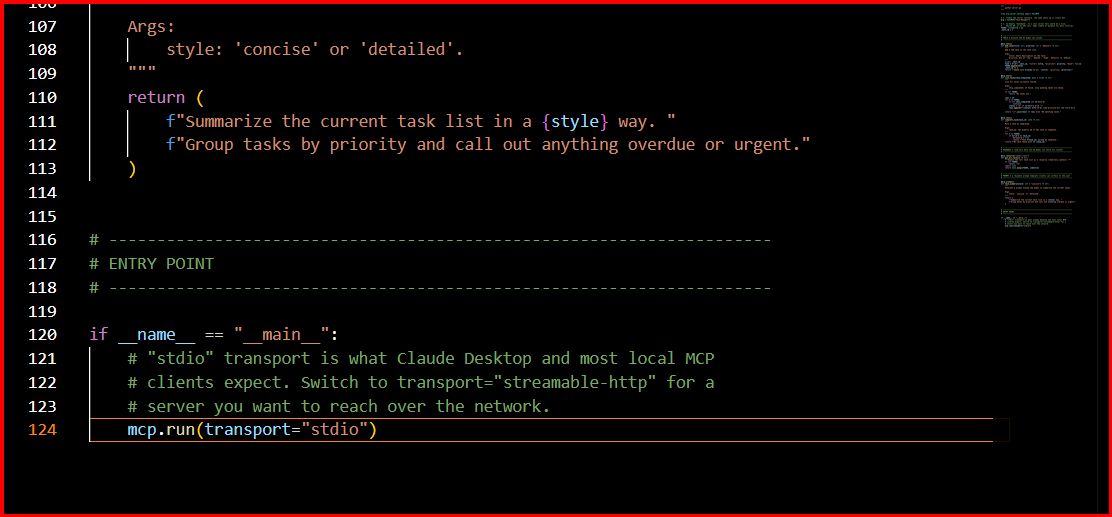
This section contains the complete source code of the program developed during the project for reference and implementation purposes.MAIL SENT MISSING PART
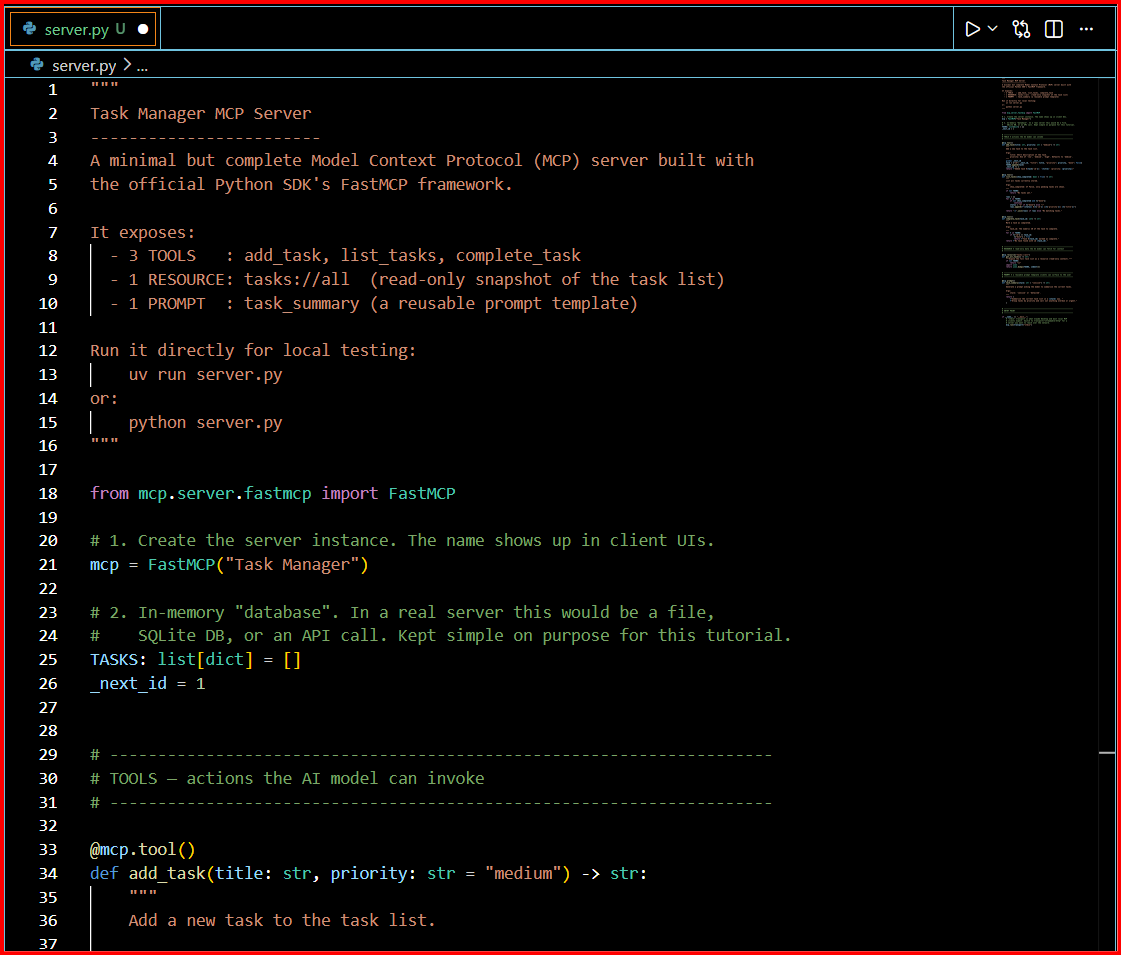
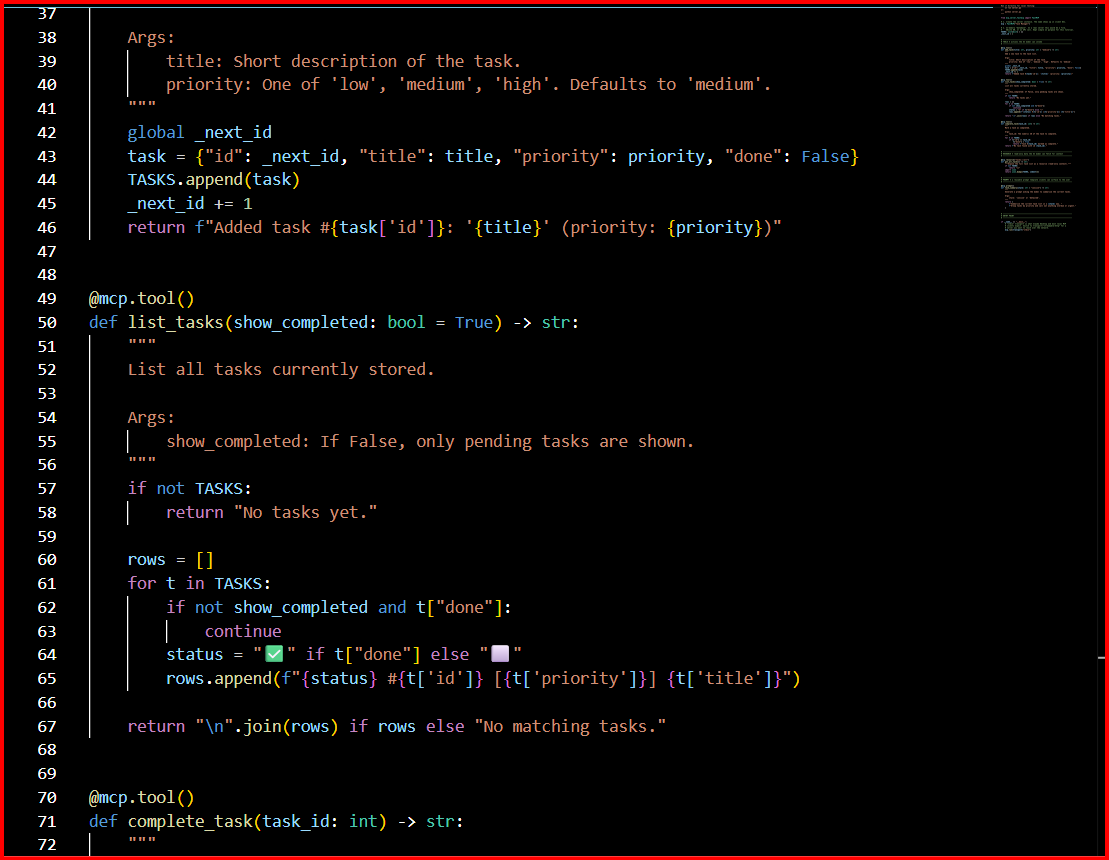
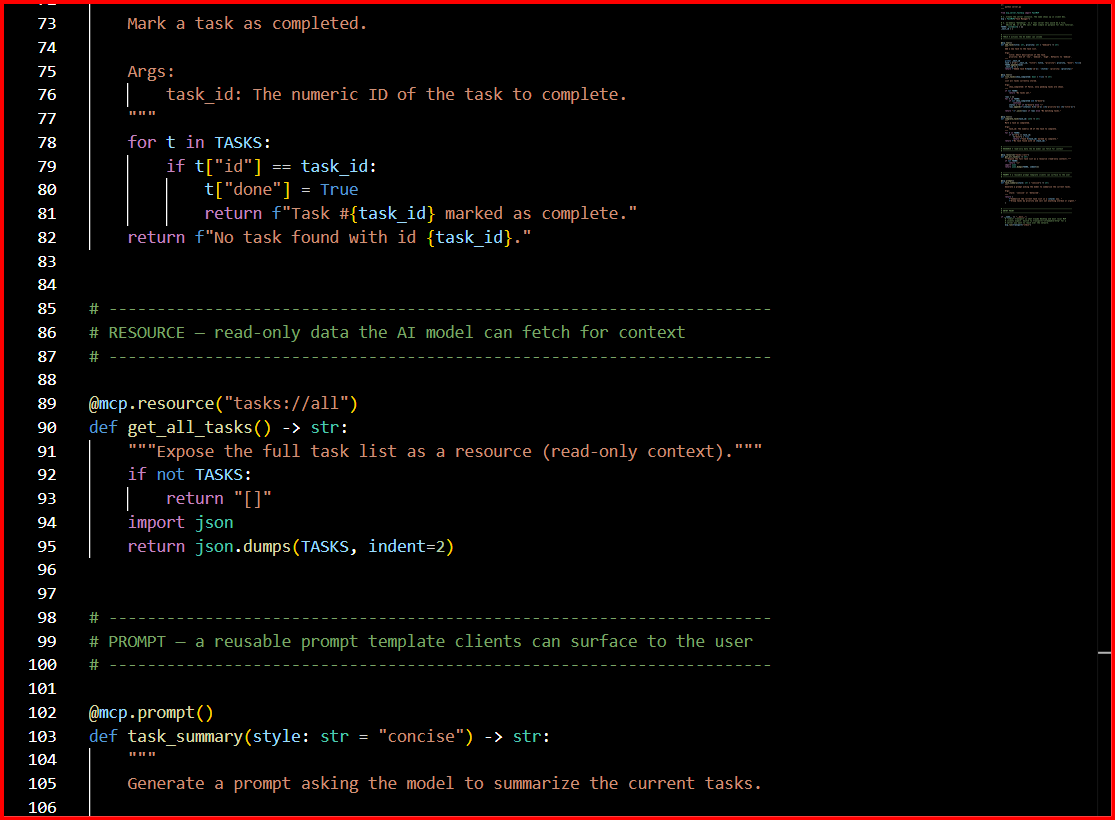
Testing The Server
Open the terminal and run the following command:uv run mcp dev server.py
This opens the Inspector in your browser, where you should ensure:
- All tools appear with correct names and parameter descriptions.
- Calling addtask, then listtasks returns the expected result.
- The tasks://all resource returns valid JSON.
- No errors in the terminal running the server.
Output
Once the MCP server is built successfully and the code is executed, the server will run on your browser, which will look something like this.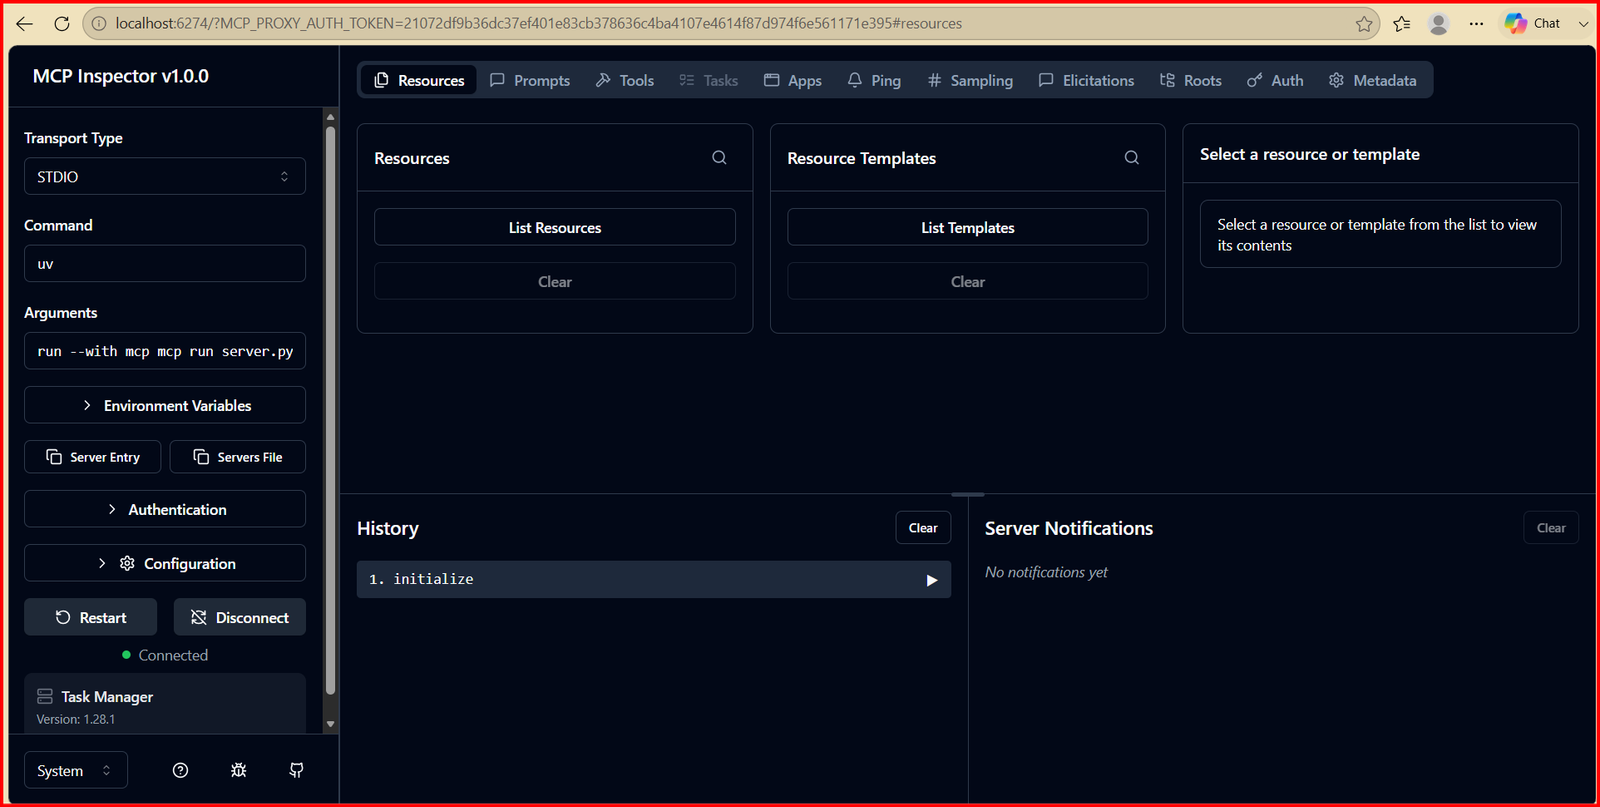
Conclusion
Throughout this guide, we explored the core components of an MCP server, from defining tools to handling requests using FastMCP. In this tutorial, we have successfully built an MCP Server that's a task manager, which can see the list of tools, resources, and prompts your server exposes, call each tool manually, and inspect the raw JSON-RPC request/response. We could also catch schema or runtime errors before connecting a real AI client. We also examined how JSON-RPC enables reliable communication between the client and server over stdio. By implementing a simple task management example, we demonstrated the complete request and response lifecycle in action. As MCP adoption continues to grow, understanding its architecture becomes an increasingly valuable skill for developers. The knowledge gained from building a basic server can be extended to create more advanced and domain-specific tools. With this foundation, one becomes well-equipped to develop MCP servers that can integrate seamlessly with AI applications.Frequently Asked Questions
1. What is the biggest mistake developers make when building an MCP Server?The biggest mistake developers make whhile building MCP Server is trying to expose every API as tool. Good MCP servers expose only limited high-level tools.2. Should an MCP server contain business logic?
no, business logic should remain in your existing application or backend services. The MCP server should focus on describing availaible tools, handle authentication which keeps it easier to maintain and scale3. What is the fastest way to test an MCP server during development?
4. How do I know if my MCP server is "AI-friendly"?Use an MCP- compatible client such as OpenAI agents SDK or Claude Desktop. these tools let you inspect availaible tools, test tool calls, verify responses and debug your server without building a full Ai application first.
5. Do I need to redesign my existing backend to build an MCP server?If an AI can discover tools without documentation, understand what each tool does from its description, choose the correct tool automatically, and call it with valid parameters, your MCP server is well designed.
No, In most cases the user simply needs to wrap the existing API's, databases, or services with an MCP server. The business logic stays the same.

0 Comments